Making your own butter at home is not only incredibly easy, it’s fresh and delicious! If you’ve ever wondered how to make butter, look no further!
WHY MAKE MY OWN BUTTER?
Making homemade butter is not only drop-dead easy to do, but it also allows you to create a delicious butter free of additives or other nasty ingredients.
Making your own butter is just the next logical step in making all of your own foods and ingredients.
Store-bought butters can be full of ingredients that have nothing to do with butter. Some are full of oils and other non-essential ingredients.
At the end of the day, making your own does take time and work, but you know exactly what goes into it and exactly what’s coming out as the final product!
THE SCIENCE BEHIND MAKING BUTTER
The science behind butter making is actually very simple. If you’ve ever wondered what the science behind making butter is, this is for you!
Butter is a dairy product that has a high butterfat content. To make butter, heavy cream or whole milk must be churned (read agitated) to separate the butter solids from the buttermilk.
Heavy cream contains large amounts of butter solids, but as tiny globs that float throughout the cream.
In order to get these blobs to “meet” and grow into larger pieces, the membrane that surrounds the fat globs have to be damaged, leaving the fat able to join together.
To do this, agitating the cream is necessary to damage these membranes. In our case, using a food processor or blender does all of the hard work for us by agitating the cream very quickly, allowing the globs to turn into large chunks of butter in a matter of minutes.
After the fat sticks together, you are essentially left with two products; buttermilk (the white liquid) and butter.
Voila! That’s really all there is to making your own butter!
HOW TO MAKE YOUR OWN BUTTER
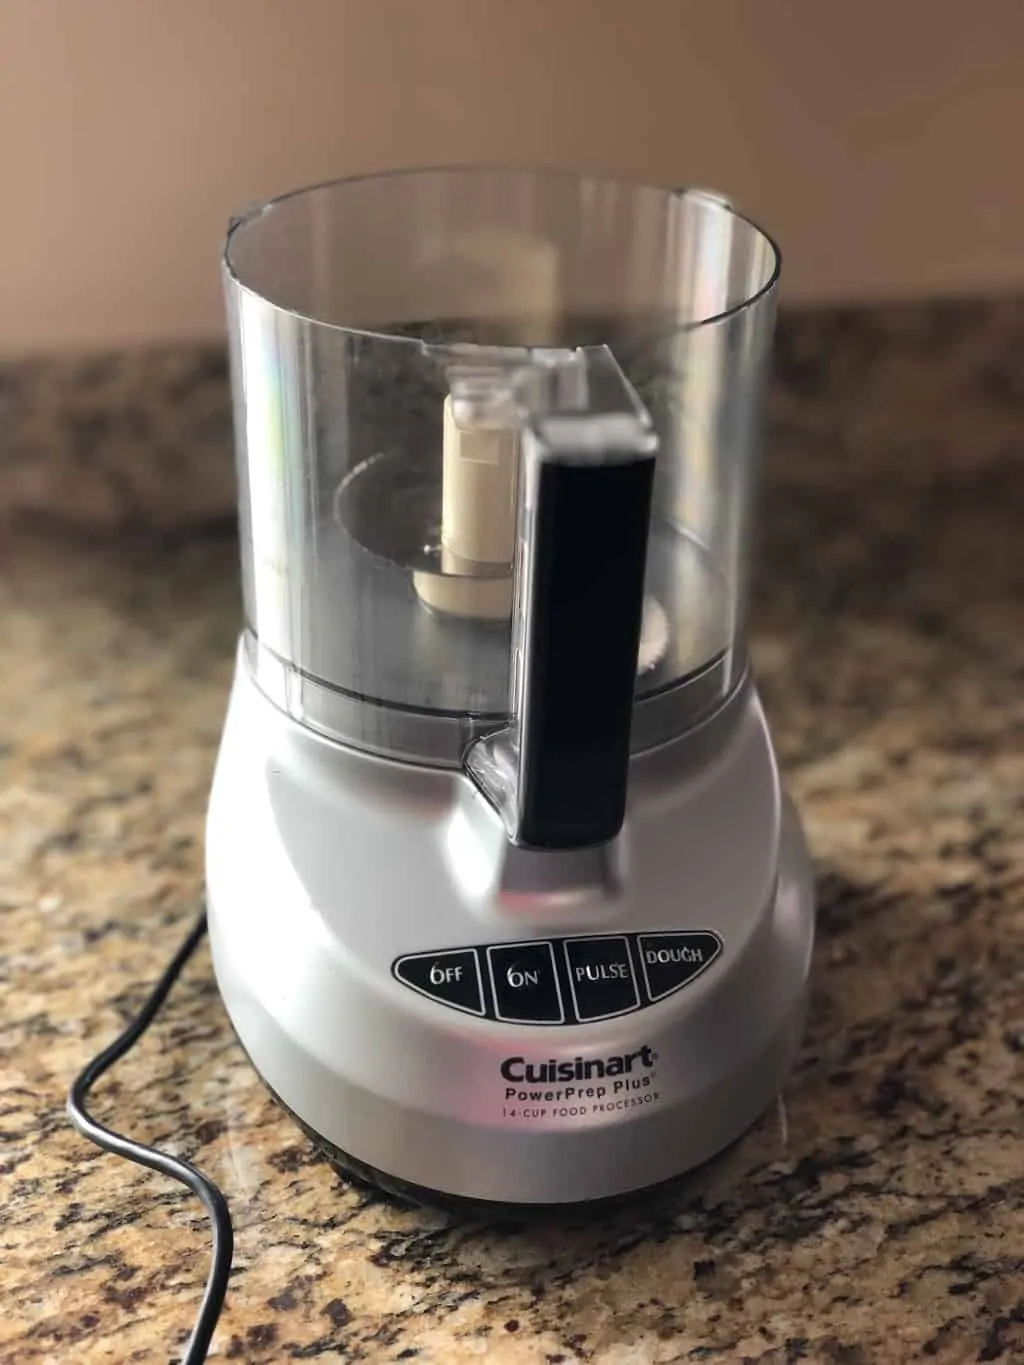
To make your own butter, start by getting your equipment setup and ready. We suggest using a food processor, but a high-speed blender will also work as well.
For making butter, larger capacity food processors are handy, but not necessary. If you have a large processor, great! If not, you’ll be just fine.
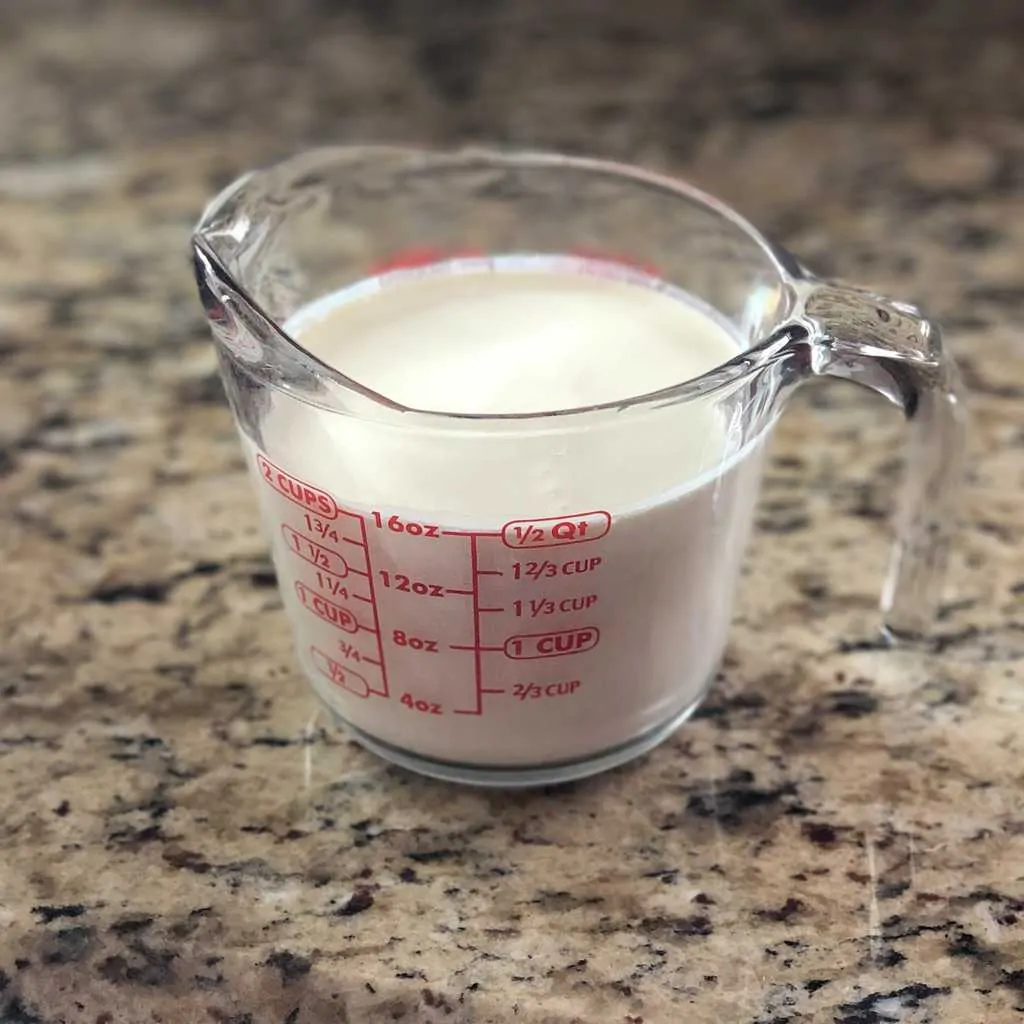
Next, measure out heavy cream in a measuring cup. For this, we are using two cups of heavy cream. Want to make less butter? Use less cream.
I don’t suggest you use any less than 1 cup, however. If there isn’t enough cream in the processor, you’ll run into trouble as the processor won’t be able to do its job properly.
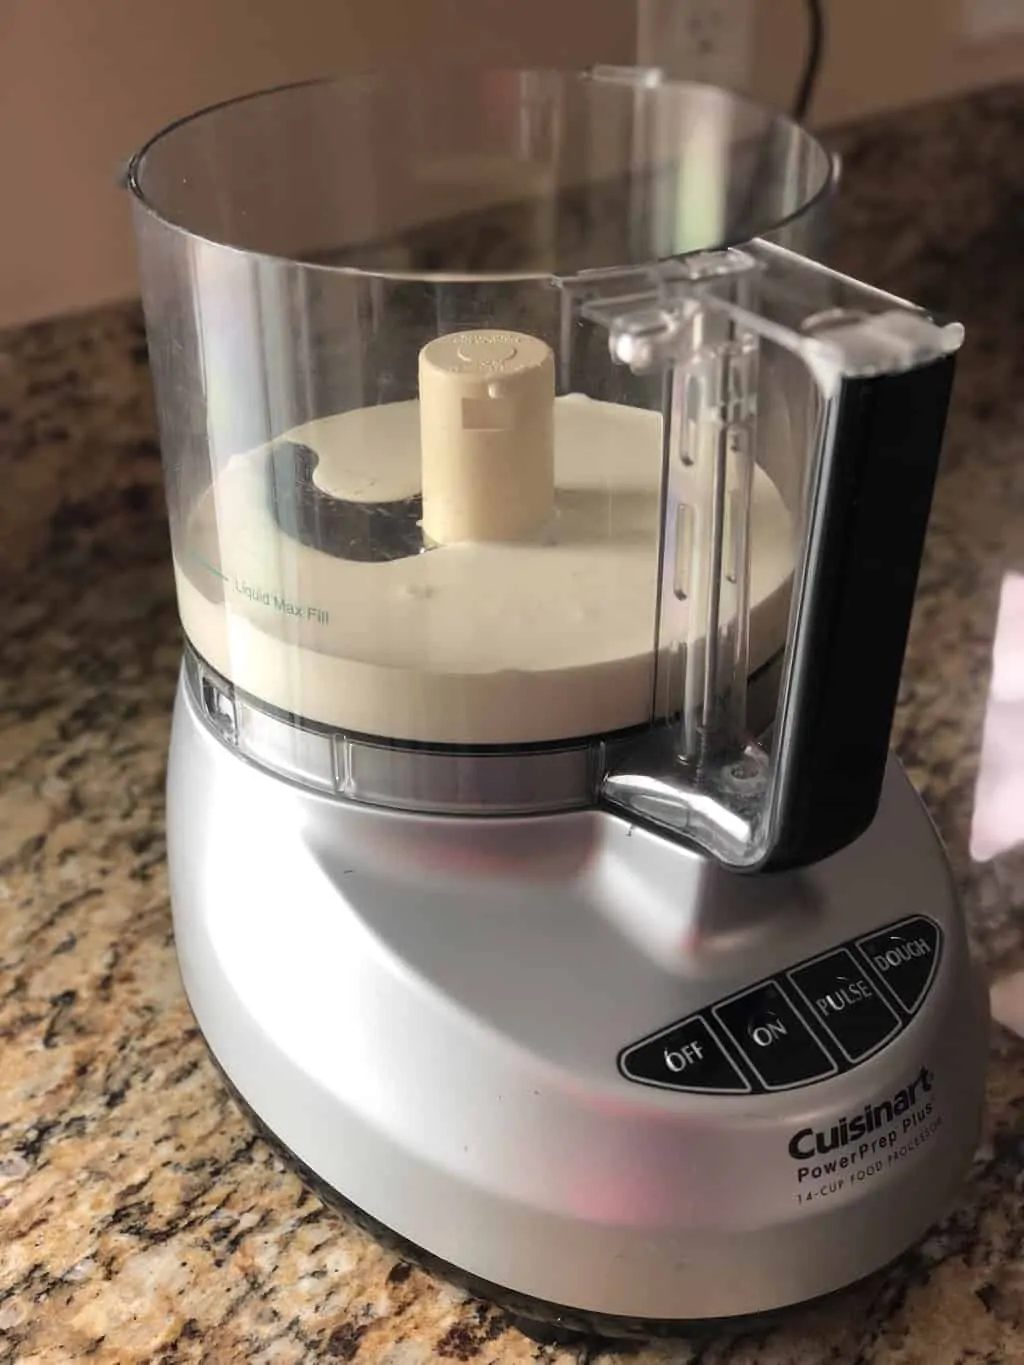
Pour the cream into the processor. For processing, you really can use any blade you have. The more area the blade covers, the better.
Also, blades that are offset from one another (one blade is higher than the other) will really help whip and mix the cream well. Blades that are the same height will certainly work, but might take longer.
Place the lid on the processor and make sure all pieces and parts are well attached. Most newer food processors have safety mechanisms in place that will prevent them from working unless all parts are just right.
Double check that all parts are in place, including any pieces that might be used to stop liquids from splashing out as the processor runs.
As the cream whips and separates, it is highly likely you will end up with a lot of splatter inside the bowl. Without the non-splatter parts in place, you could very easily end up with a massive mess on your hands.
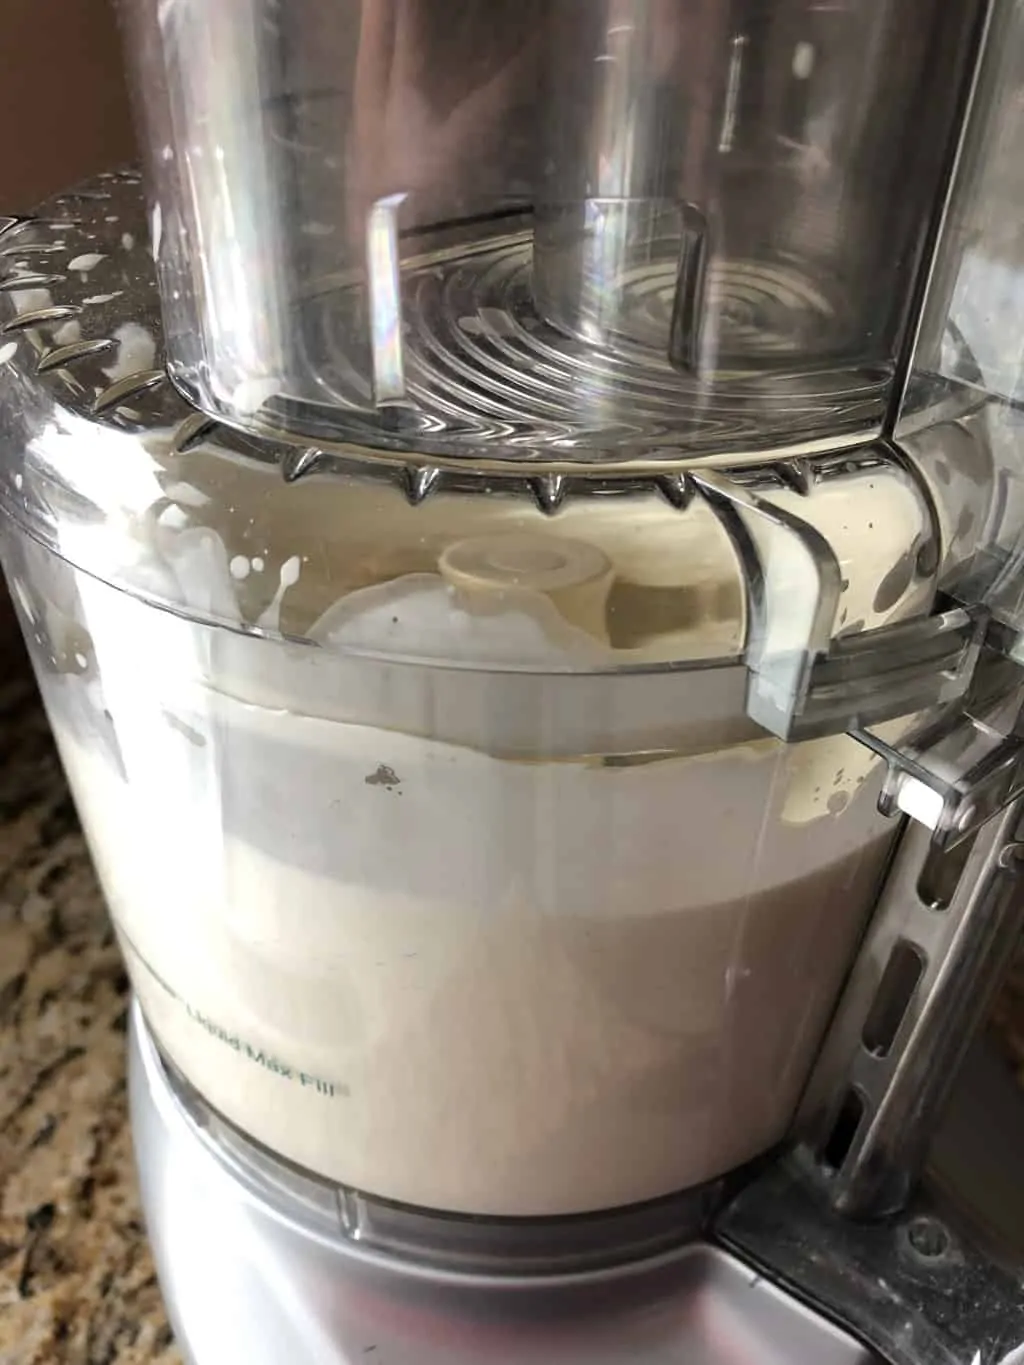
Turn the food processor on and let it begin working its magic. If your processor has multiple settings on it (ie: burst, pulse, dough, etc.) simply choose the “on” setting so the processor runs continually.
After around 1 minute has passed, pour in 1 tsp of pink Himalayan salt through the top opening. If you are opting to make non-salted butter, then simply skip this step.
A lot of people prefer to add the salt at the end, after the butter has formed and the buttermilk drained off. You can certainly do this, but I really like the ease of it being added up front and being in the butter already by the end.
You can find more information about salted and unsalted butter below.
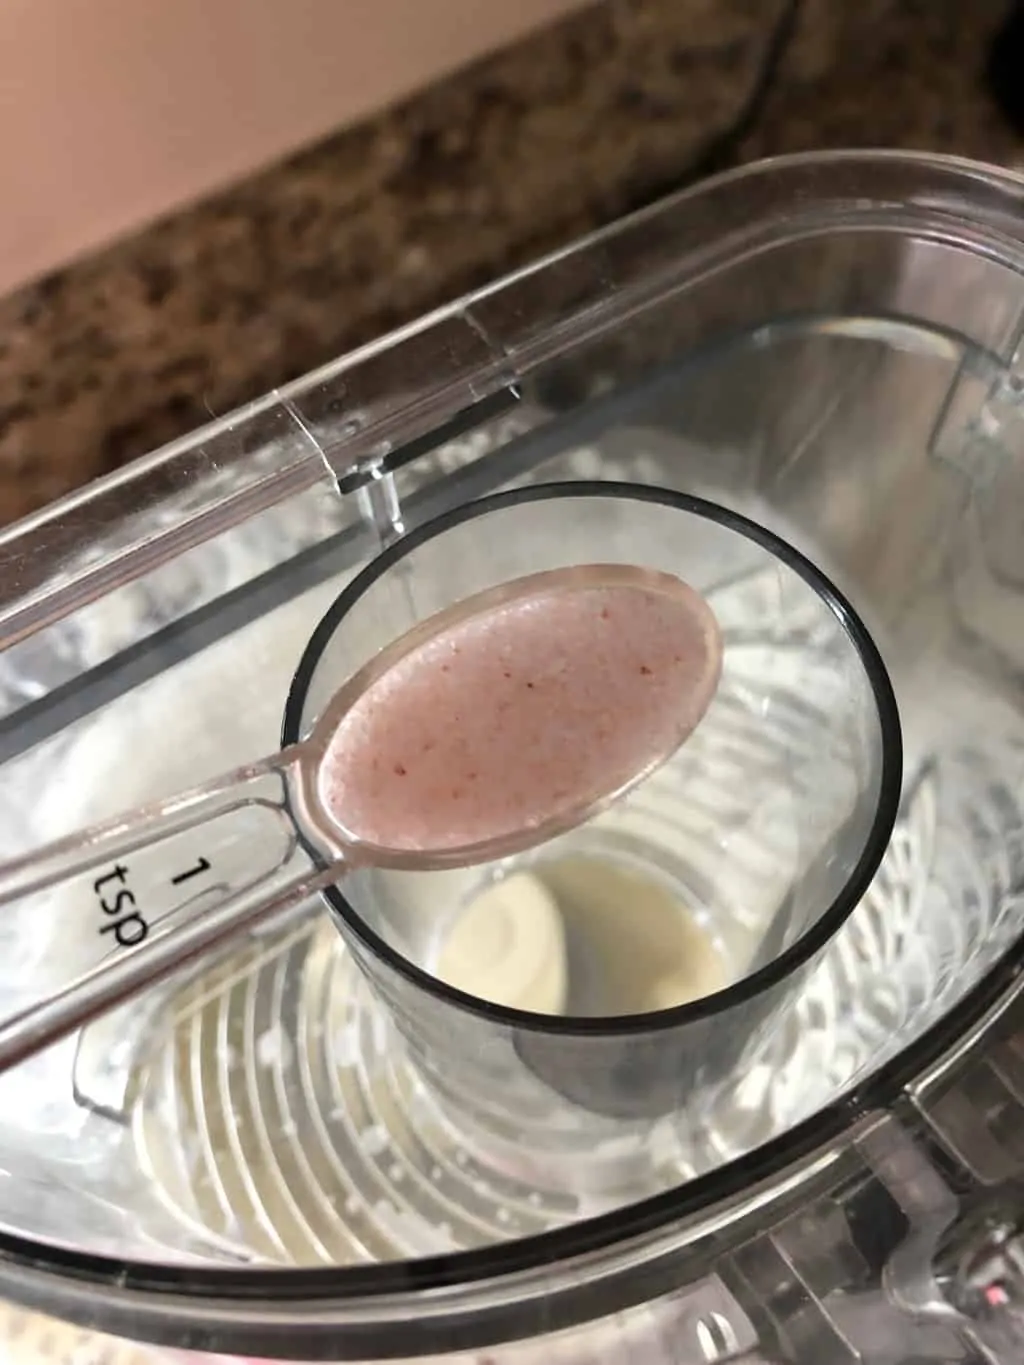
Let the cream continue to mix. You’ll notice it go through several stages.
The first of these stages is whipping. This is the point at which the cream is packed full of tiny air bubbles.
If you’ve ever made whipped cream before with a stand mixer, hand mixer, or whisk, you know the light and fluffy texture this achieves.
The mixture will stay at this point for a short while, before it quickly transitions to the next stage in the process.
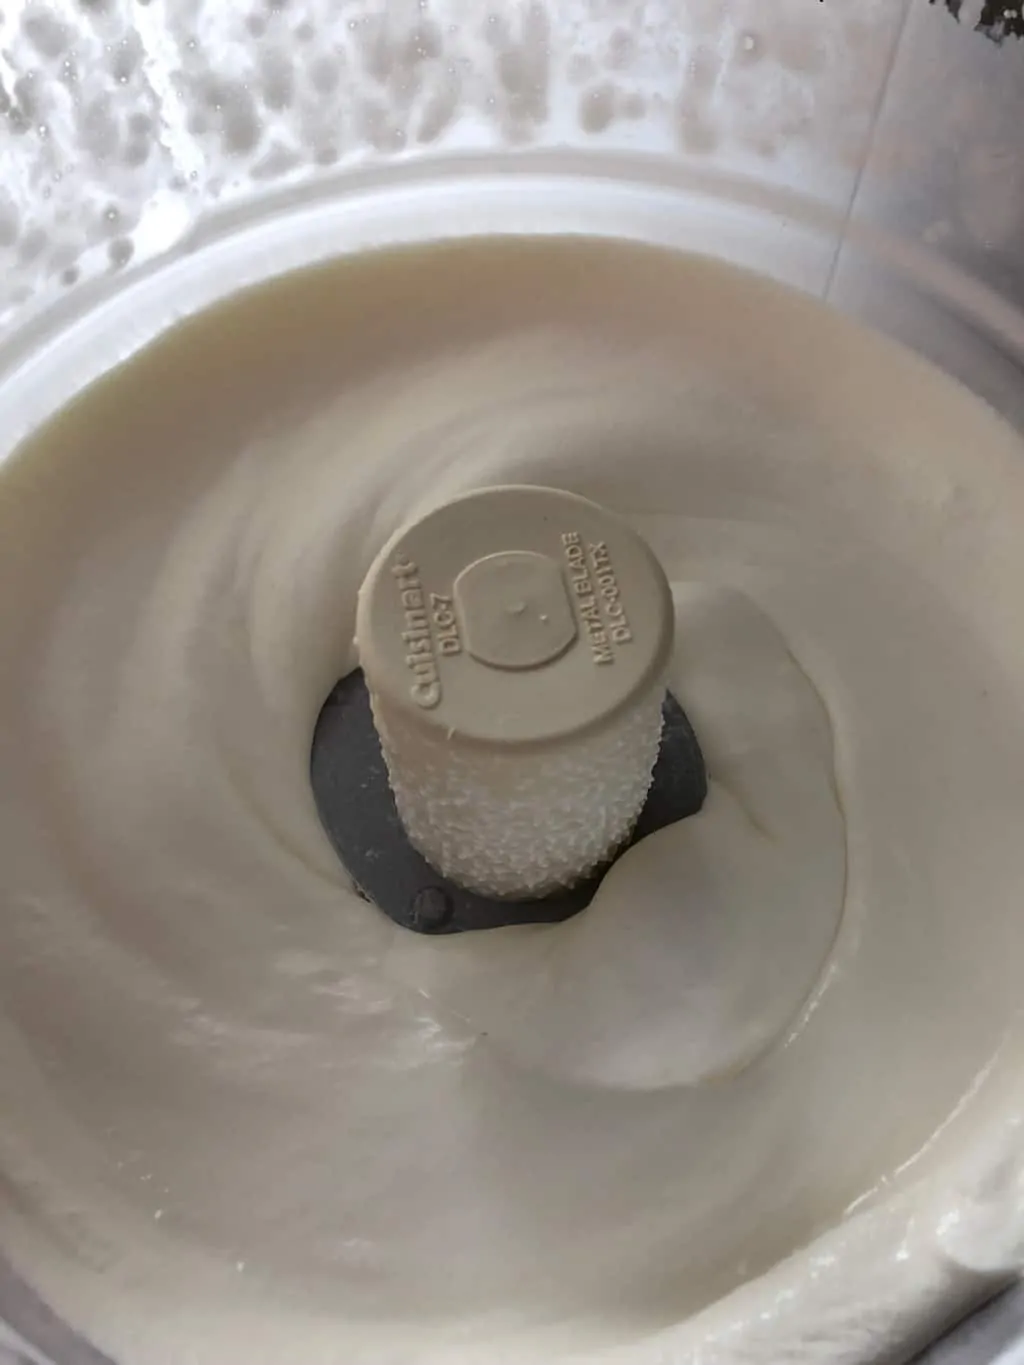
After the whipped cream stage comes the “grainy” stage (as I like to call it).
This stage marks the beginning of the separation of fats in the cream from the liquids.
Butter forms when the microscopic membranes that keep the fat molecules separate in the liquid are damaged, allowing the fat molecules to join together.
The grainy stage starts when enough of these membranes are damaged that small amounts of fat begin to form into larger amounts.
You’ll also notice the cream becomes a much thicker consistency as well, which may remind you of an ice cream or buttercream consistency. Don’t worry, though! Real deal butter is just around the corner!
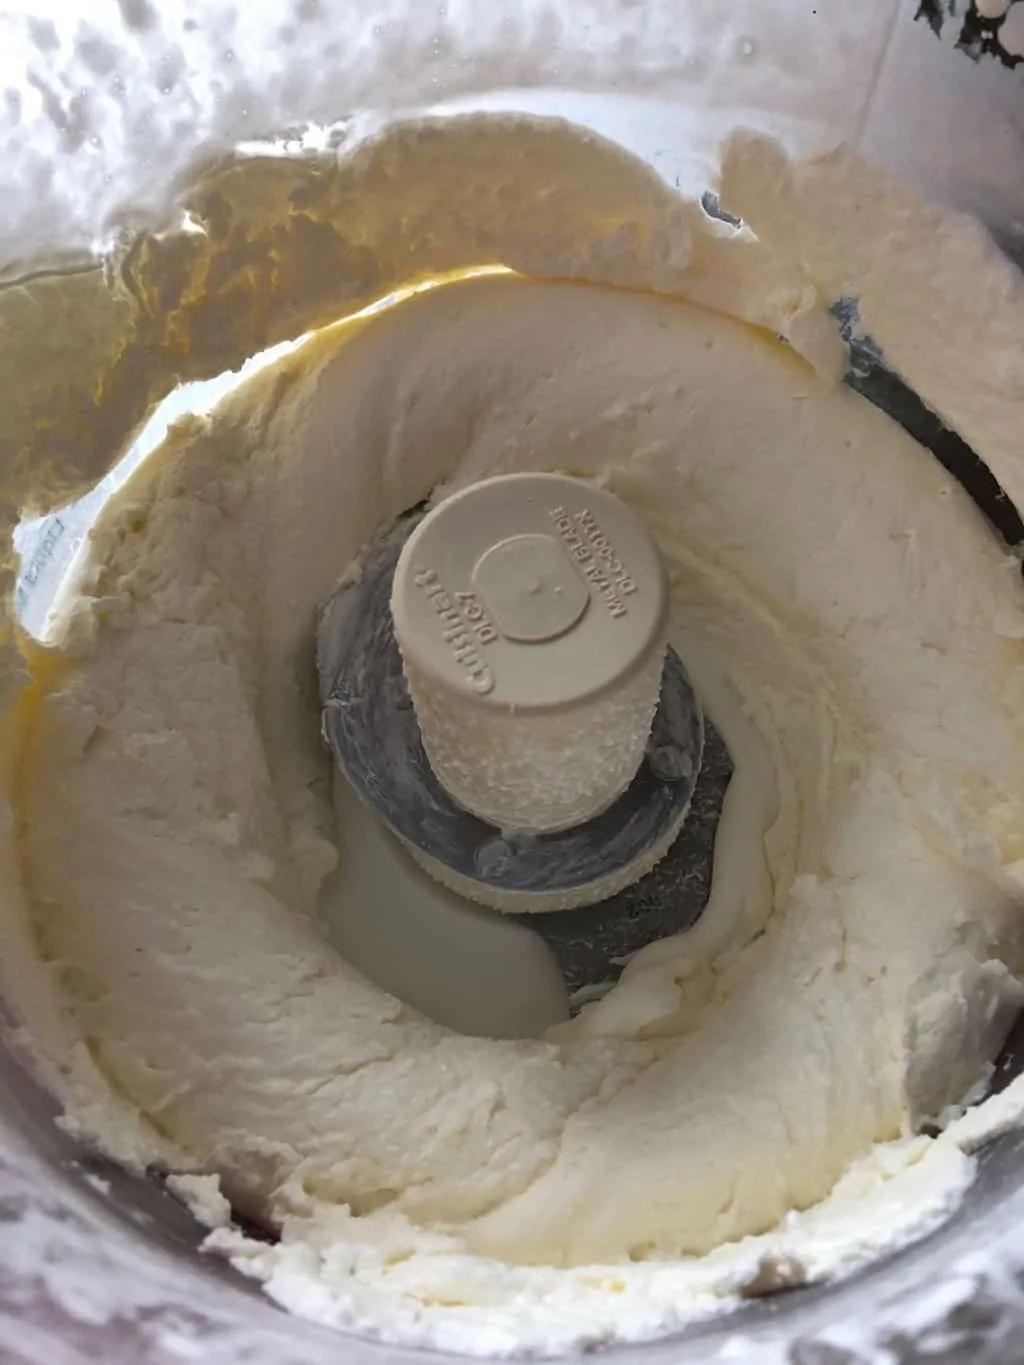
After a few more minutes, you should see butter separating from the buttermilk liquid!
At this point, you can either let it process a few more seconds to ensure the fats separate fully, or you can stop the process and prepare to move on to the next step.
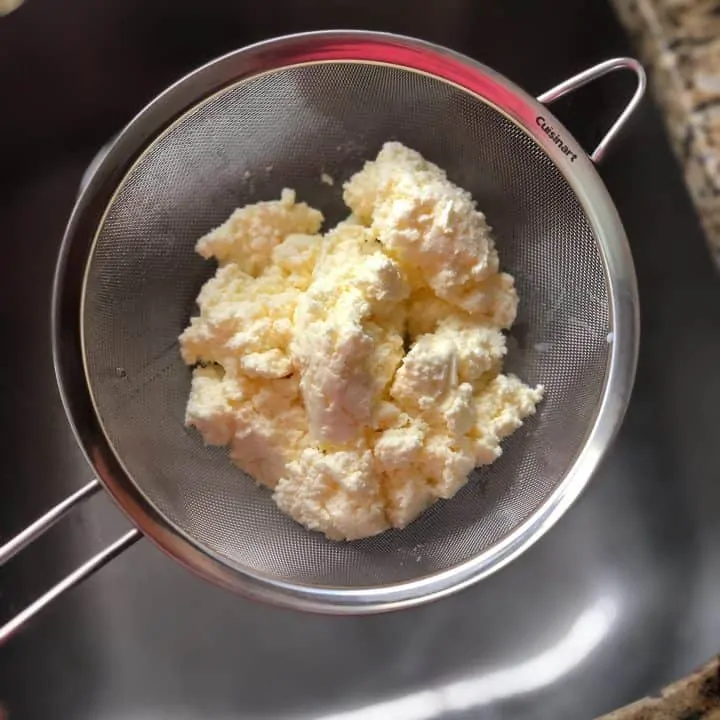
You’ll notice the butter isn’t as yellow as you might be used to, but don’t worry. There is nothing wrong with it!
Believe it or not, some mass produced butters actually have added color/dyes to make them more yellow. Apparently, that is the more appealing?
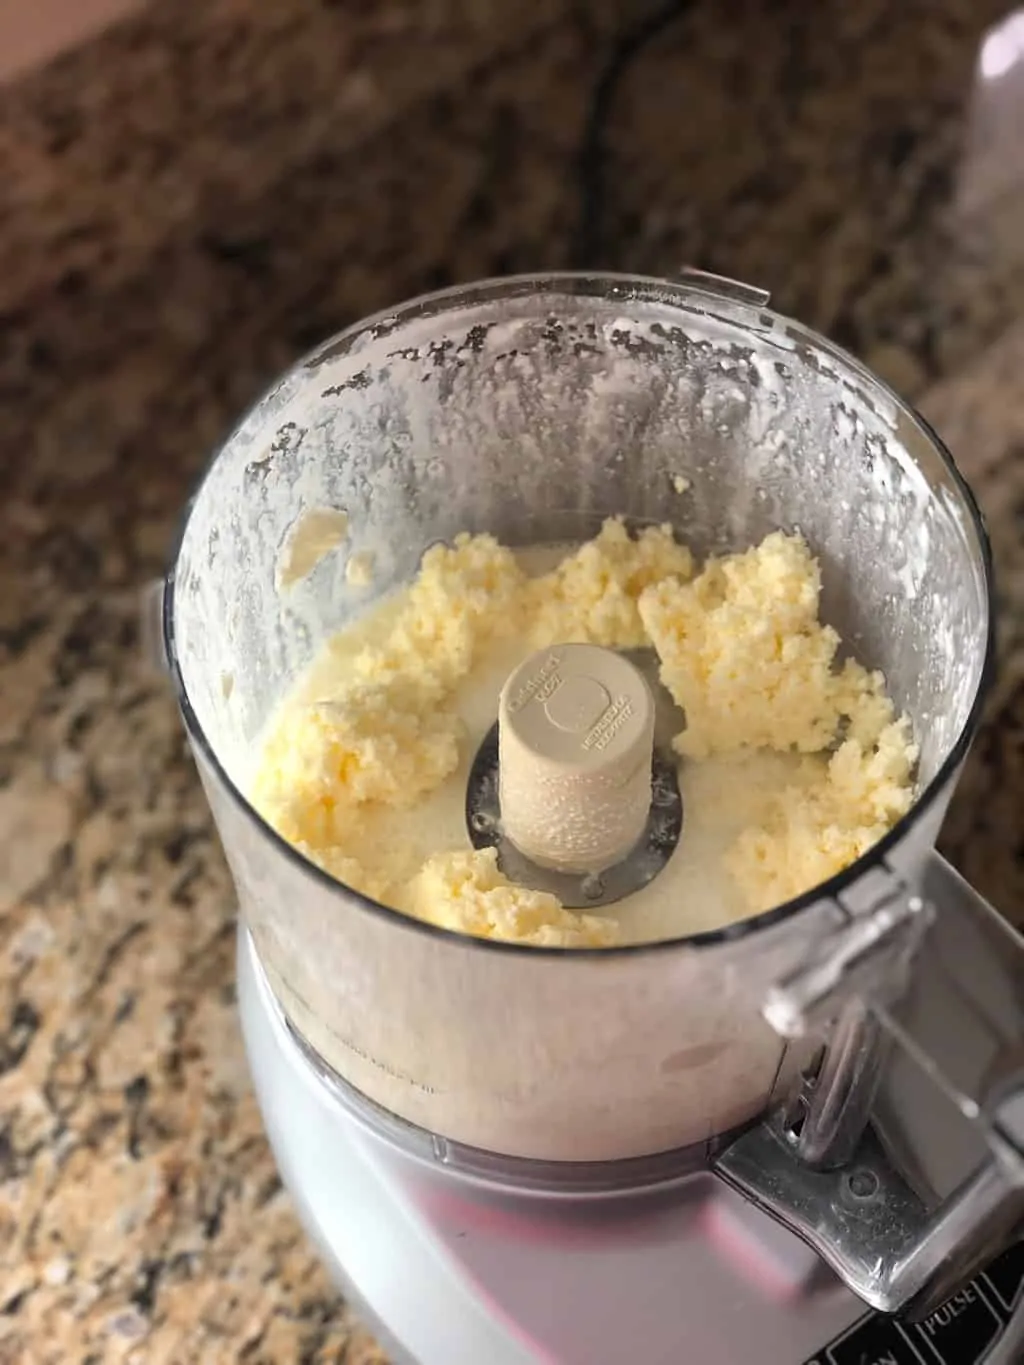
The buttermilk, otherwise known as the liquid substance in the bottom, needs to be drained off, unless you decide to keep it for some reason.
If you do decide to keep it for something, make sure you have a storage container on hand to strain it into.
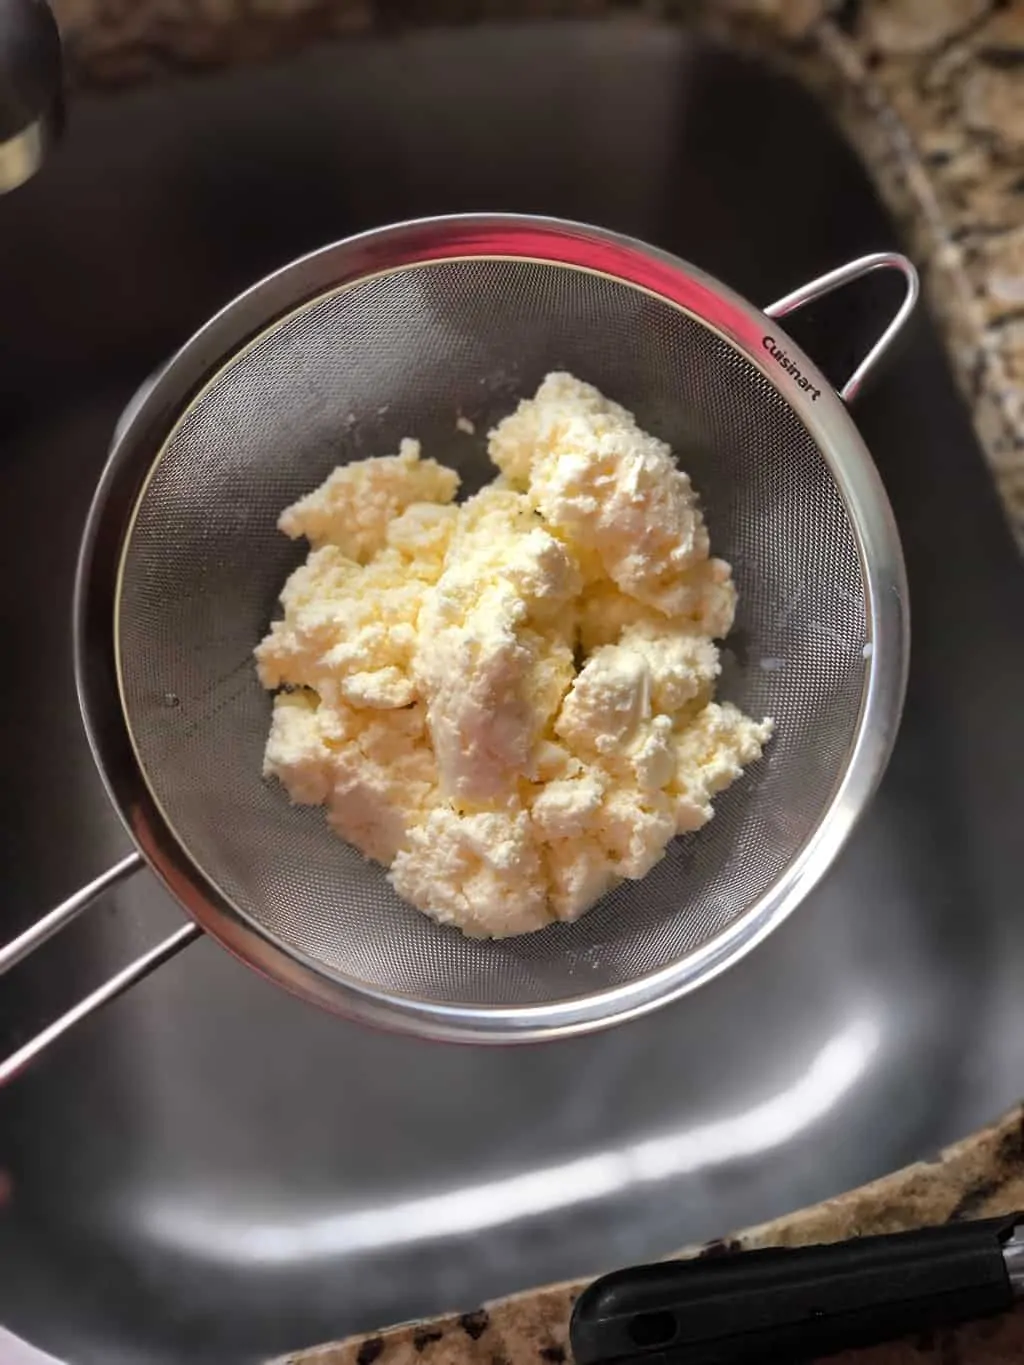
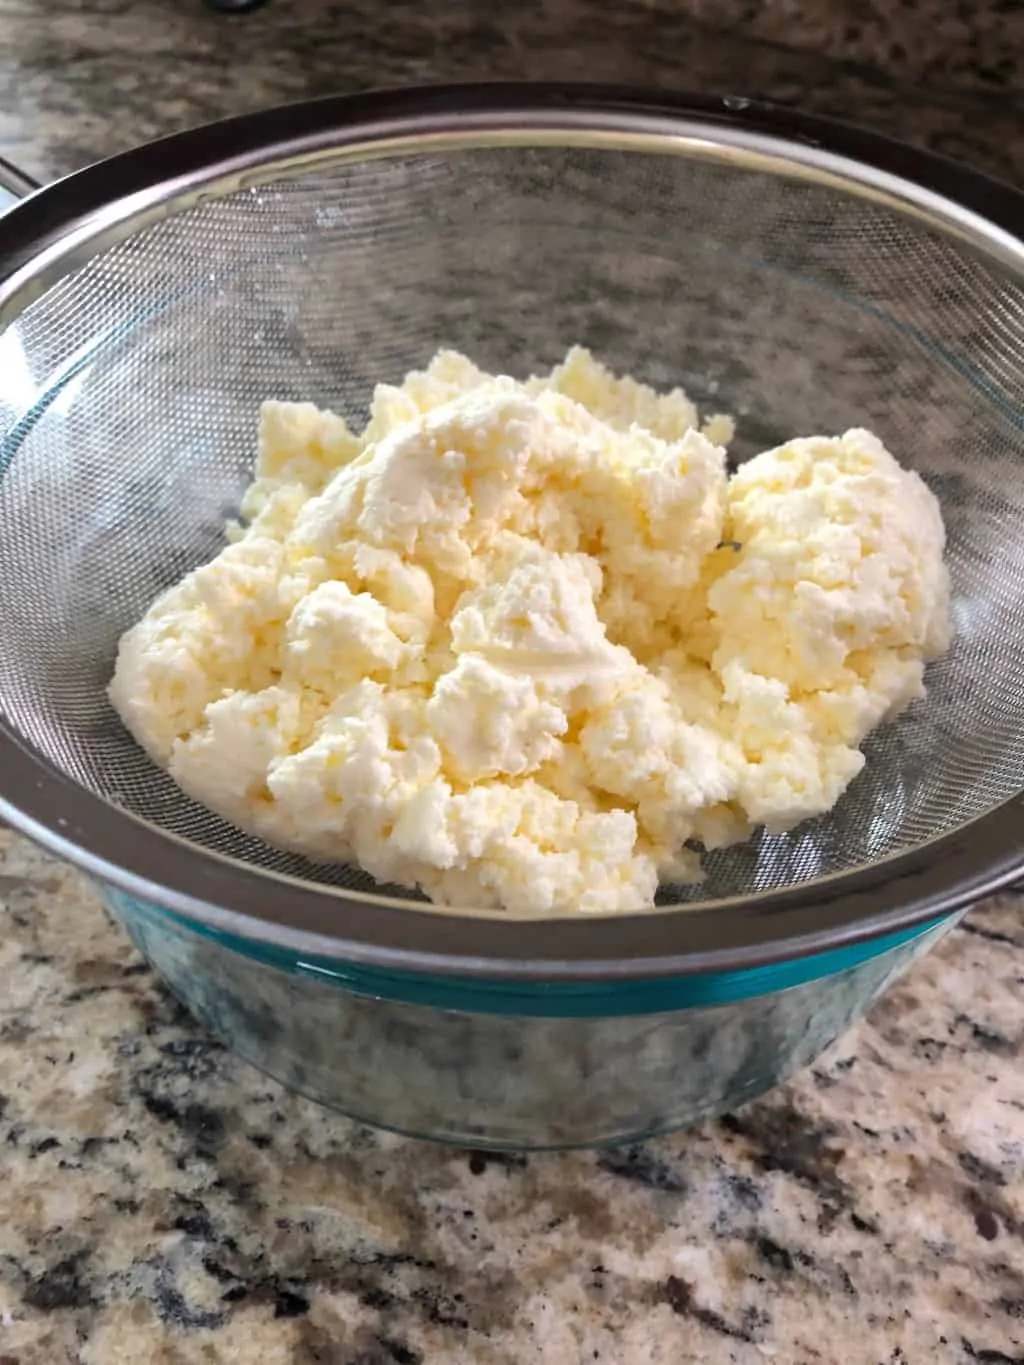
Using a mesh strainer, strain the liquid from the butter over the sink.
If you don’t have a mesh strainer, use whatever you might have on hand that can remove the butter from the liquid.

After draining in the sink, I suggest placing the mesh strainer over a mixing bowl or glass storage container. This allows any excess bits of milk to drip out before one last draining.
Grab your cheesecloth because there is still some more milk to be removed!
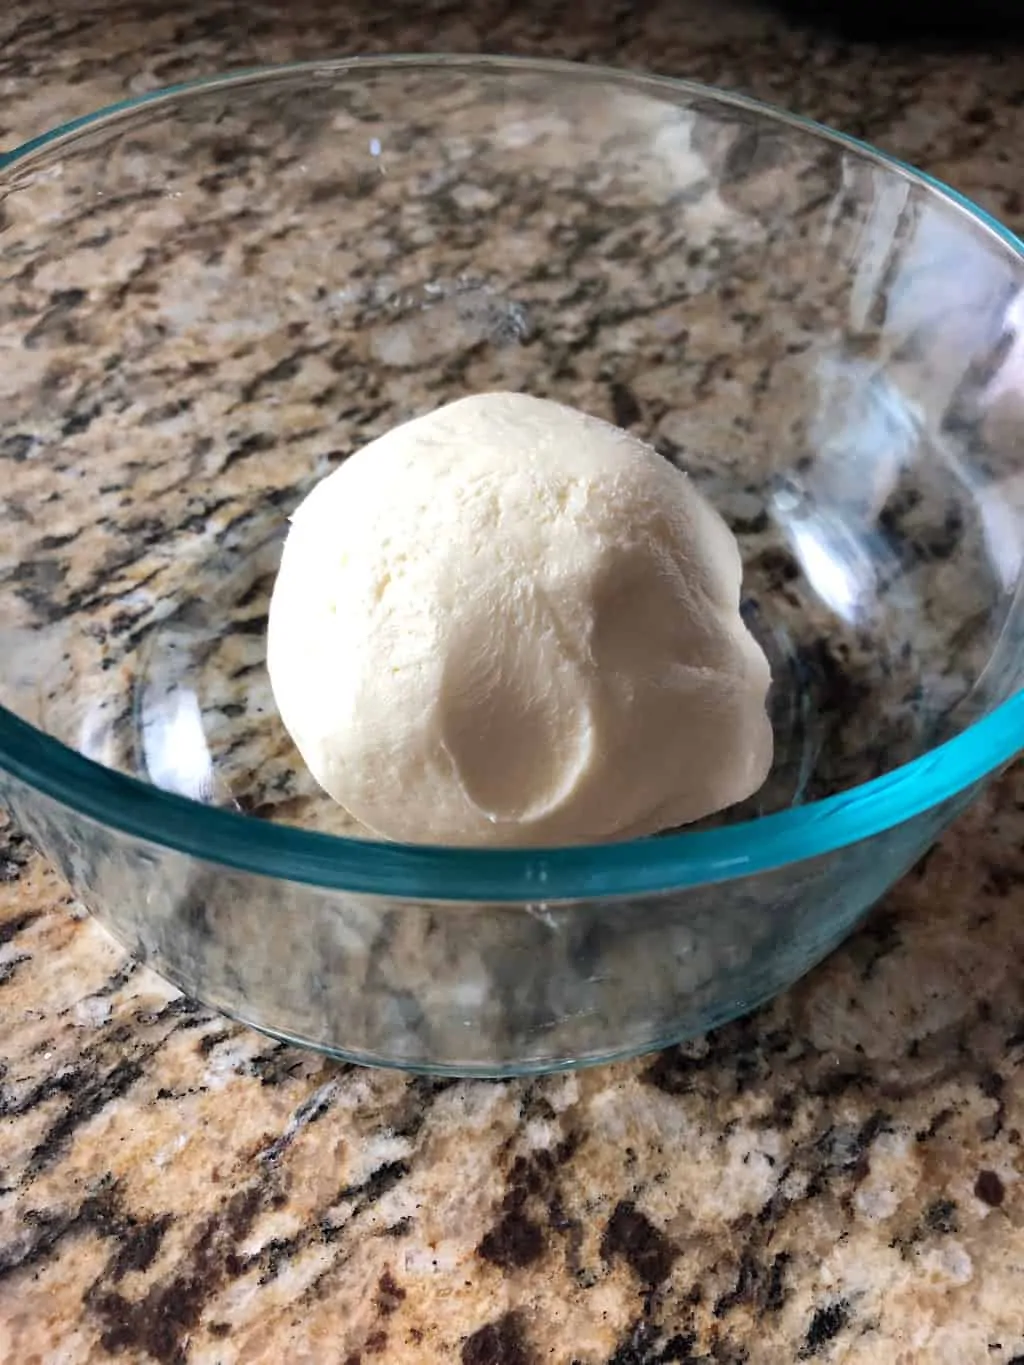
Place the butter in the center of the cheesecloth and pull the corners up and to the middle. Twist the excess cheesecloth above the butter, pulling the entire cloth tight around the butter.
Gently twist to tighten the ball until no more milk strains from the butter.
Untwist the cloth and place the butter ball into an air-tight storage container of your choice.
Pop the butter into the refrigerator and voila! You’ve made delicious, fresh butter right in your own kitchen!
WHAT CREAM SHOULD I USE?
Generally, whatever heavy cream you have in your local store will work just fine for butter making.
Major name brand creams can be easily considered “go to” as they normally contain no added ingredients and are purely heavy cream.
If you want to buy store brand or a brand you aren’t immediately familiar with, take a quick second to check the nutrition label and ingredient list.
Often, cheaper creams will contain fillers that can add to the carbohydrate and ingredient count, neither of which you want. After all, you are probably making your own butter to avoid any added ingredients, so why buy them in your cream if you can help it?
If you have access to fresh cream, that is always a wonderful option!
A QUICK WORD ABOUT CARRAGEENAN IN CREAM…
Most creams (even the big name brand varieties) contain carrageenan. A quick check of the label will more than likely reveal this.
You’re probably unsure what this is and why it’s in your cream.
Carrageenan is a thickening agent that is added to different foods and liquids, such as heavy cream. The ingredient is derived from red seaweed and used a lot in the United States food production.
If possible, avoid carrageenan as it has been linked to digestive issues and other health ailments. Having said that, we are unable to find a cream locally without it, a problem you are likely to have as well.
In that case, avoiding carrageenan is likely to be difficult, if not impossible.
SALTED VS. UNSALTED BUTTER
When choosing butter at the store, you are presented with several options. The main one of these is whether the butter is salted or unsalted
But what does the difference in these two actually mean? Besides the obvious that one contains salt and one doesn’t, there are several specific reasons why you might want to choose one over the other.
If you’ve (much like ourselves) never given much thought to which one you should use, here is some quick, easy information on the difference, and how to make each kind when making your own.
UNSALTED BUTTER AND WHY YOU’D USE IT
Unsalted butter, as the name implies, is butter that doesn’t have any salt in it.
Generally, this butter is used for baking purposes or for anyone who is on a sodium-controlled diet.
Why is it used for baking you might ask? In the food world, baking is sometimes considered to be the hardest to master, due to the specificity of amounts of ingredients needed.
Most baked goods call for a very specific amount of salt to be added. When adding butter to the mixture, salted butter will add additional salt.
How much additional salt? That’s a great question. There is really no way to know how much salt is added into the butter.
MAKING YOUR BUTTER SALTED…
To make your butter salted, simply follow the directions above or in the “how-to” card below. It’s as easy as that!
MAKING YOUR BUTTER UNSALTED…
To make unsalted butter, simply skip the step of adding the salt to the whipping cream. Voila!
WHAT ABOUT USING A BLENDER INSTEAD OF FOOD PROCESSOR?
Should you not have a food processor on hand but have a blender, you can use it to also make butter.
Follow all of the steps listed above or below, but just complete them all in your blender.
While food processors work at a fast rate of speed, most blender blades spin much faster.
If your blender has different speed settings (most do), choose a middle of the road speed. You ultimately want to process the mixture well, but blending it at a very high speed is not necessary.
RECIPES TO USE HOMEMADE BUTTER IN
There are countless uses for this delicious homemade butter. Not sure exactly what to make with it or what to use it in?
Here are some sweet, savory, and overall yummy ideas to get you headed in the right direction!
SAVORY
SWEET
- Keto Butter Pie
- Keto White Chocolate Buttercream Icing
- Keto Donuts with Browned Butter Glaze
- Keto Butter Pecan Ice Cream
- Keto Butterscotch Candy
OTHERS
- Keto Sriracha Hollandaise Sauce
- Keto Garlic Butter Brussel Sprouts
- Keto Maple Cinnamon Fat Bombs
- Keto Little Caesars Copycat Garlic Sauce
TOOLS NEEDED FOR MAKING BUTTER
Click on the links to see the items used in making this recipe. You can also find these products linked in the recipe below.
- Food Processor – A food processor is a cornerstone of making your own butter. Hopefully, you already own one, but if not, having one as a kitchen essential will make your life so much easier. If you don’t have a food processor, a high-speed blender will work as well.
- Mesh Strainer – You’ll need a strainer to pour the butter and buttermilk mixture into to separate them. There are plenty of other ways to separate the two to discard the buttermilk, but using a mesh strainer is by far the easiest!
- Cheesecloth – Getting the last little bits of the buttermilk out of the butter is essential. Using cheesecloth is the absolute easiest way to make this happen, all while making for easy cleanup. Make sure to have some cheesecloth on hand before starting the butter making process!
How to Make Butter
Making your own butter at home is not only incredibly easy, it's fresh and delicious! If you've ever wondered how to make butter, look no further!
Materials
- 2 cups heavy whipping cream
- 1 tsp pink Himalayan salt
Instructions
- Measure the desired amount of cream out into a measuring cup
- Pour the cream into a food processor or high-speed blender
- Process/blend the cream until the butter separates from the buttermilk
- Add salt (if using) throughout the process
- Strain the butter from the buttermilk using a mesh strainer
- Place the butter into a cheesecloth and twist to tighten the cloth around the butter, squeezing out the last bits of buttermilk
- Store in the refrigerator in an air-tight container

Roxana Lopez
Wednesday 13th of February 2019
Can you give a rough idea of the yield in butter from 2 cups of cream? Thanks.
Logan Childress
Wednesday 13th of February 2019
It will yield roughly 1 cup of butter after all is said as done.