Mongolian beef is a Chinese-American dish that has all of the best Asian flavors. This keto Mongolian beef takes minutes to make and tastes amazing!
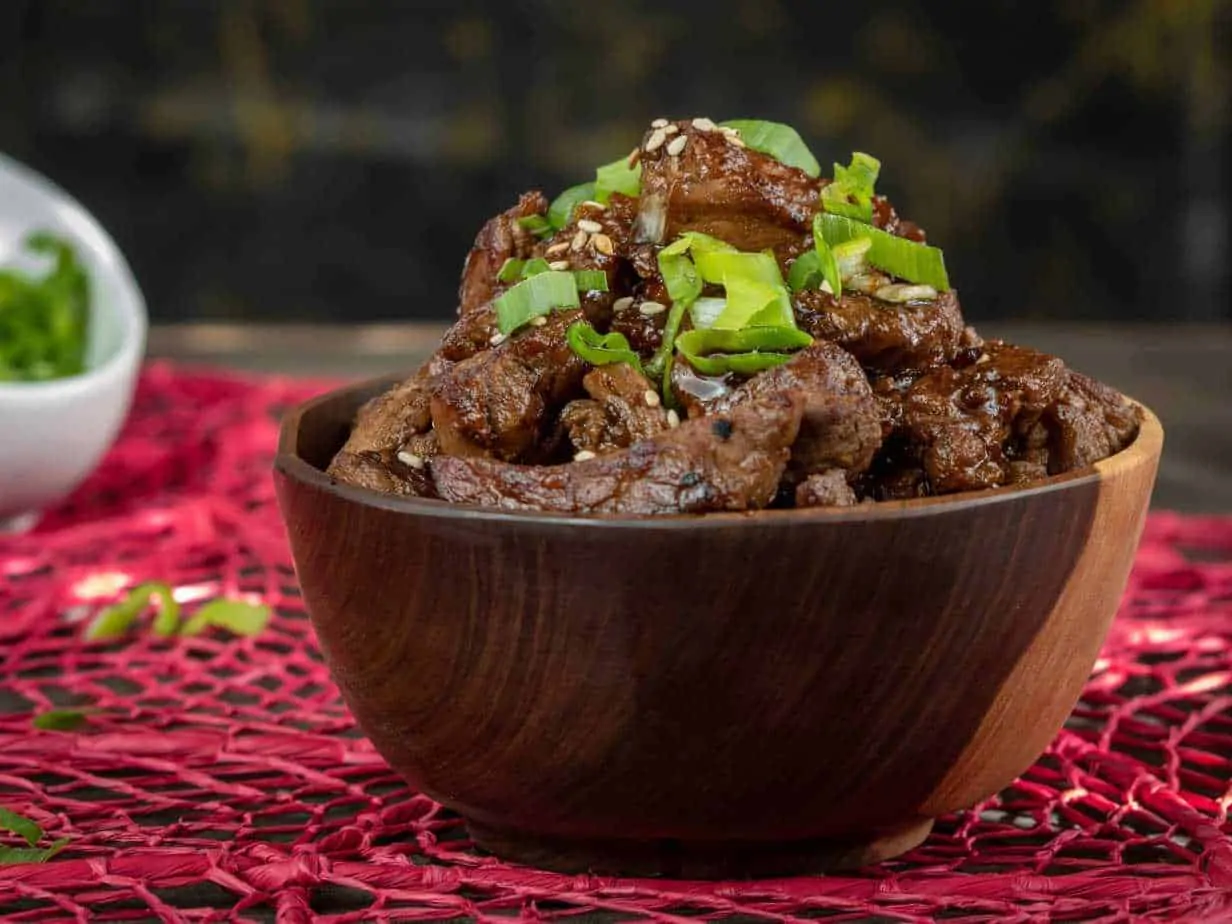
Before you say it, I already know what you are thinking… ANOTHER Asian-inspired recipe. But, it’s ok. I still love it and love sharing Asian-inspired recipes with everyone, so more to come! Even though Mongolian beef is not a true Mongolian dish, it’s still a delicious one. Believe it or not, it was originally conceived in Taiwan where “Mongolian” restaurants first appeared.
This keto Mongolian beef is absolutely no exception.
The first time I ever had it was many years ago on one of my first trips to P.F. Changs. My mother and I were on a trip and decided to give the restaurant a try. In case you are wondering what I thought of it, it was delectable. There are copycat recipes galore that recreate the experience, but unfortunately, almost all include sugar.
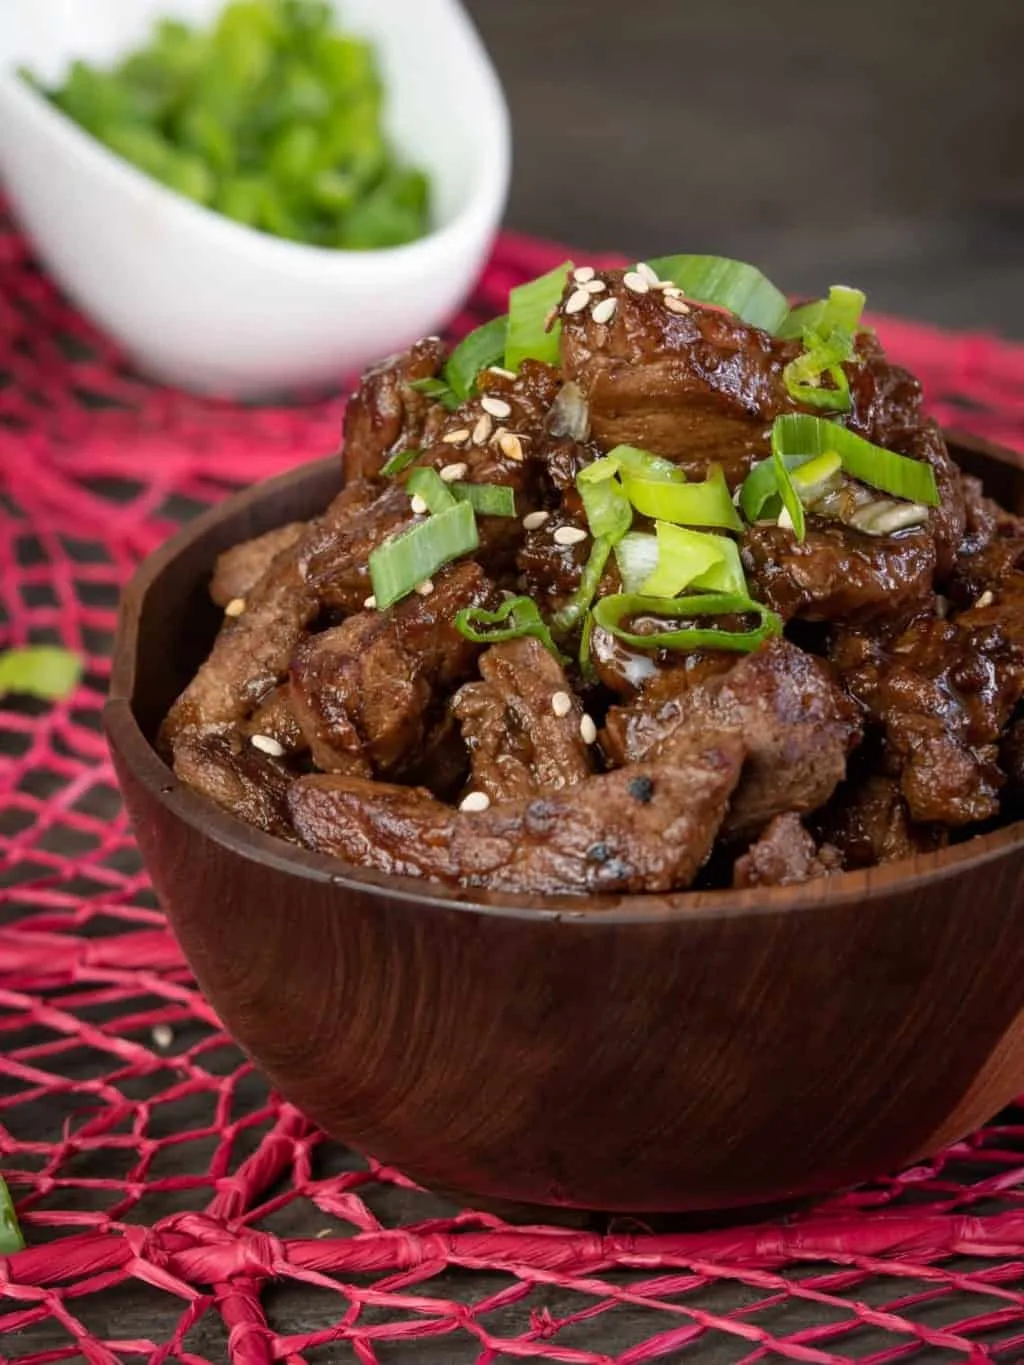
And it’s easy to make… Hopefully, by now at least most of the ingredients listed are in your pantry. If not, a quick trip to your local Asian market or specialty store can easily fix that. If you don’t have either of those, a few minutes on Amazon yields the same results.
I’ve had several variations of the recipe over the years. Some try too hard, while some add too many ingredients trying to “make it new and different.” Our version keeps it simple and easy, perfect for those who have limited time to cook after a long day.
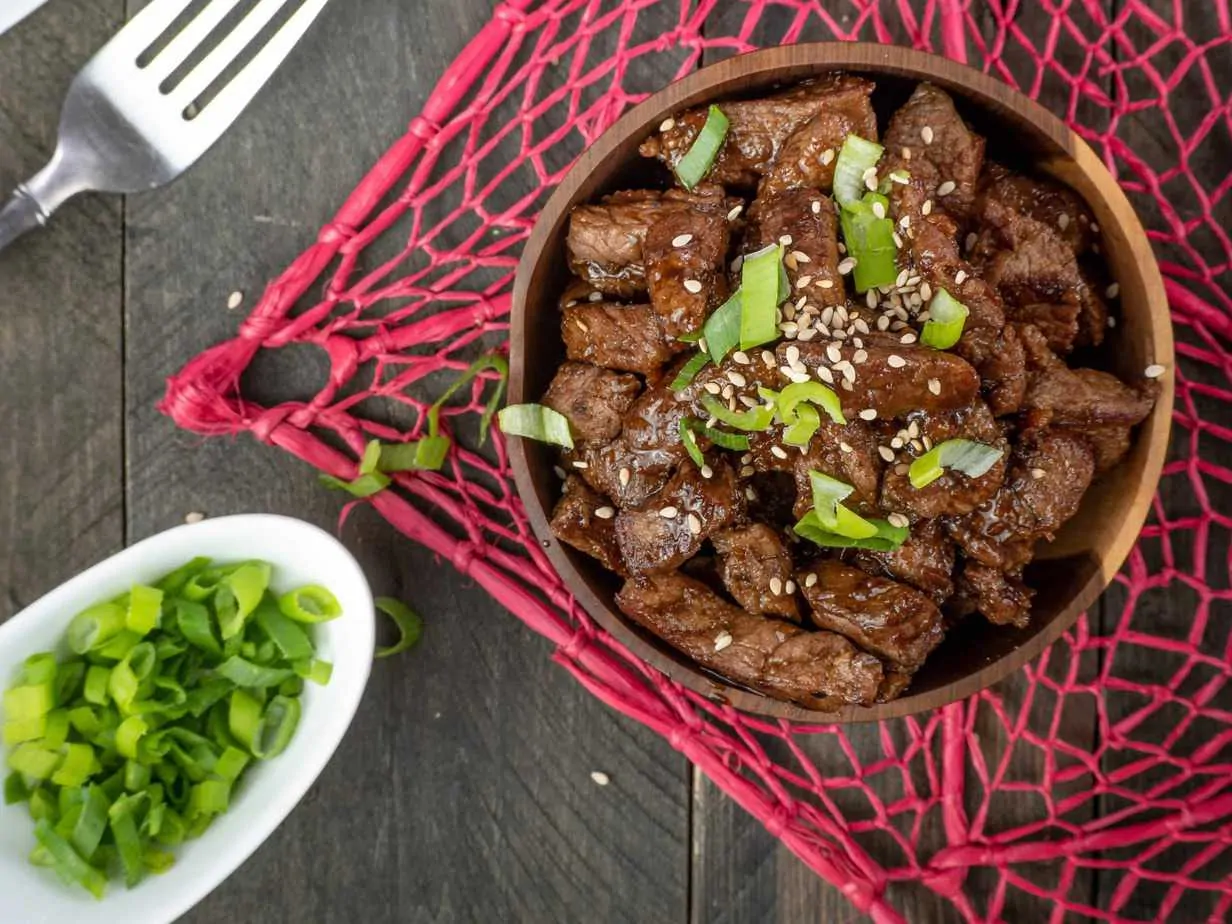
Pair this with a batch of our Keto Cauliflower White Rice, and you have a perfectly keto lunch or dinner in about ten minutes. Add that to the fact you are eating real, non-processed food, and this recipe is what I’d consider a win!
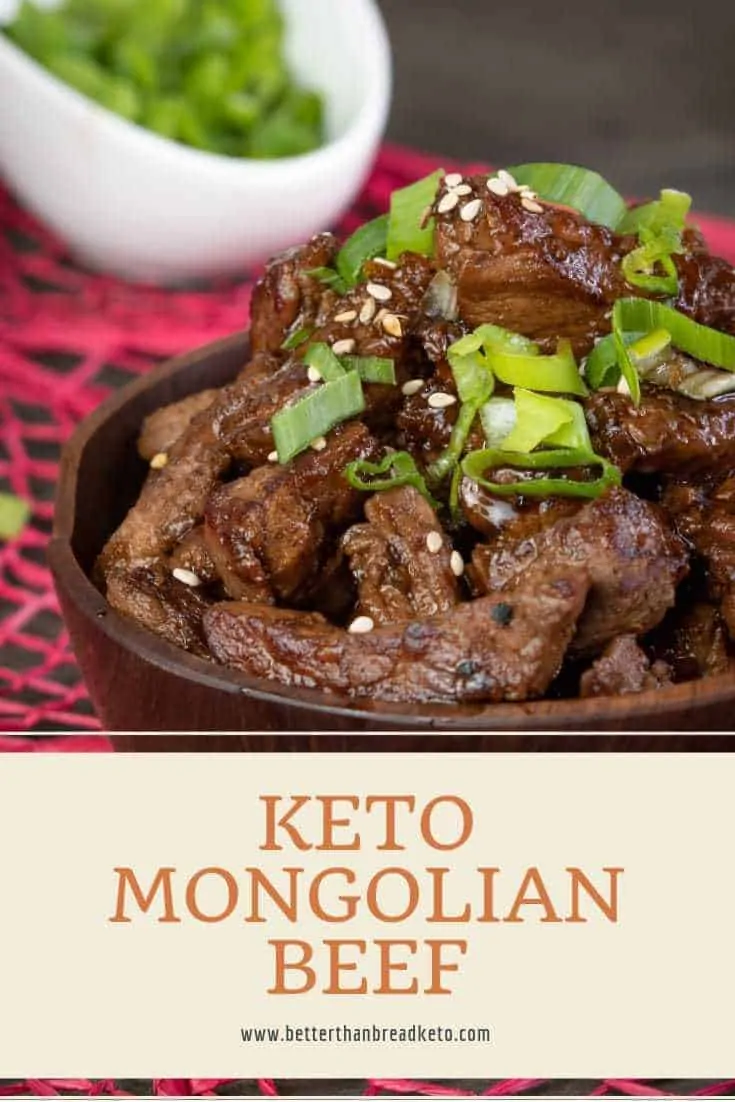
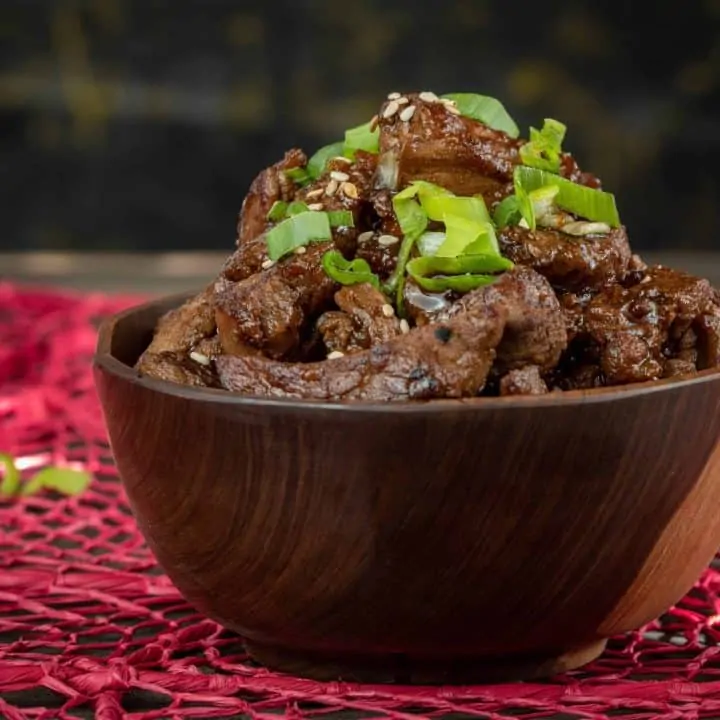
Keto Mongolian Beef
Mongolian beef is a Chinese-American dish that has all of the best Asian flavors. This keto Mongolian beef takes minutes to make and tastes amazing!
Ingredients
- 1 lb flank steak (the more fat the better)
- 1/4 cup tap water
- 1/4 cup liquid aminos
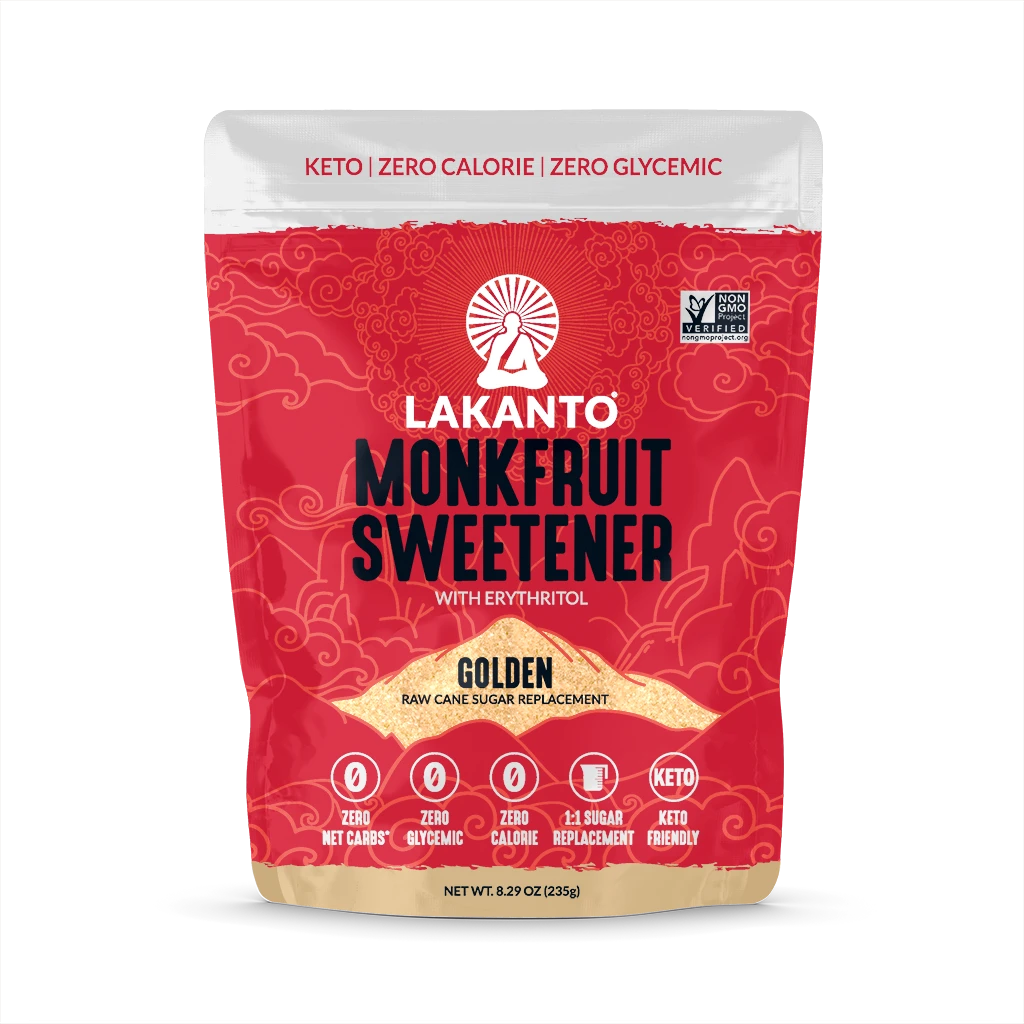
- 1/4 cup Lakanto Golden Monkfruit Sweetener
- 1 tbsp grated ginger
- 1 tbsp minced garlic
- 2 tsp sesame oil
- 1/2 tsp xanthan gum
- 1 pinch pink Himalayan salt
- 1 pinch fresh ground black pepper
Instructions
- Cut the flank steak into bite-sized slices (remember to cut against the grain!)
- In a wok over medium-high heat, add a splash of olive oil and cook the ginger and garlic until fragrant (about 1 minute)
- Add the rest of the ingredients to the wok (except the steak) and reduce to medium heat
- In a non-stick skillet, coat the bottom with olive oil and sear the steak pieces
- Cook until steak chunks are still lightly pink in the middle (or your preferred level of doneness)
- As the steak is finishing, turn the wok to high heat and bring the mixture to a rolling boil
- Add the steak to the sauce and stir constantly until the sauce thickens and the steak is well coated
- Remove from heat and ladle steak and sauce over some of our Super Easy Keto Cauliflower White Rice
- Enjoy!
Recommended Products
We are a participant in the Amazon Services LLC Associates Program, an affiliate advertising program designed to provide a means for us to earn fees by linking to Amazon.com and affiliated sites. As an Amazon Associate, we earn from qualifying purchases.
Nutrition Information
Yield 3 Serving Size 1/2 cupAmount Per Serving Calories 460Total Fat 18gCarbohydrates 2gProtein 18g




Maglil55
Sunday 12th of August 2018
Love all of your Asian recipes. Couple of problems with this one. I didn t have the wok hot enough for the steak so got liquid from it which made the sauce too wet. I also think for us the was a bit too much liquid amino and made it too salty. Will make it again but I'll reduce the aminos and get my wok hot enough! I also added broccoli and spring onion to the stair fry. Great recipes though.
Logan Childress
Sunday 12th of August 2018
Glad you love it! I generally like things a little more salty than most, but try to keep it toned down in the recipes. Sorry about that! Thanks for the comment!